
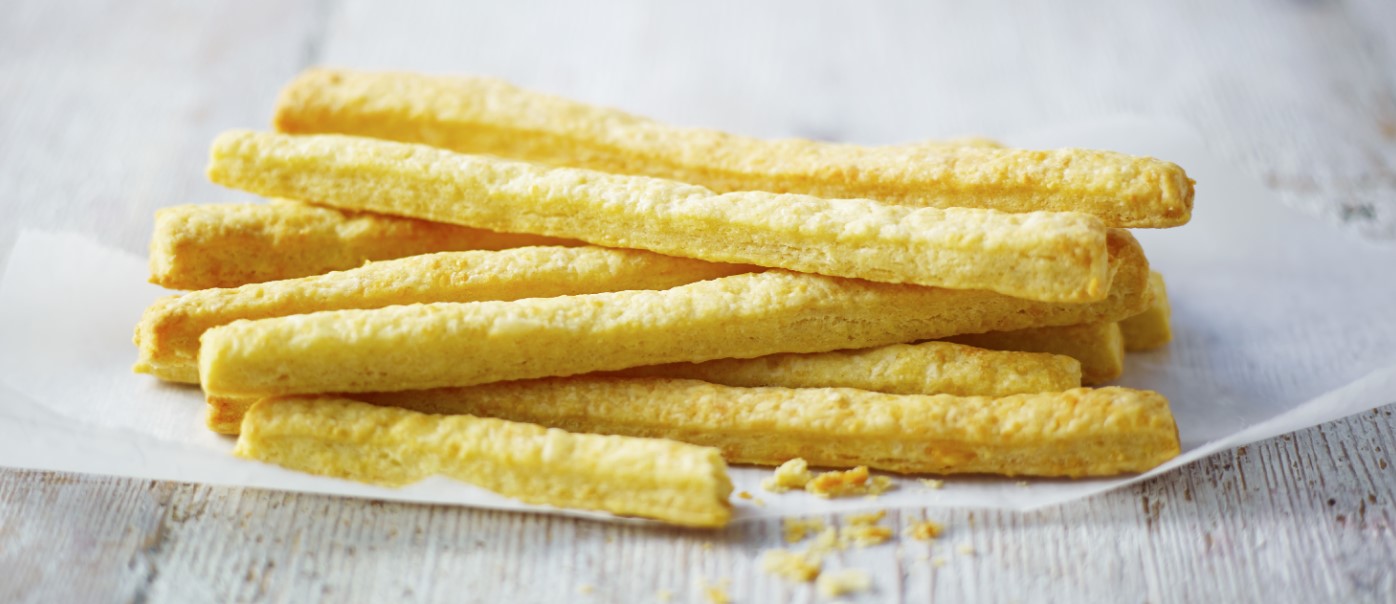
Cheese straws are a delightful and impressive finger food that will surely impress your guests. This homemade version of the beloved Cheez-Its is based on a traditional pastry-and-cheese cracker. While they require a little more effort than other finger foods, such as marinated olives or spiced nuts, the unique flavors and texture of these cheese straws make them a standout appetizer. With the help of a food processor, the preparation becomes a breeze.
MAKES: At least 10 servings
TIME: 20 minutes
INGREDIENTS:
- 1/2 pound cheddar or other flavorful hard cheese
- 1/3 pound Parmesan cheese
- 2 cups (about 9 ounces) all-purpose flour
- Pinch of cayenne
- 8 tablespoons (1 stick) chilled butter, cut into chunks, plus extra for greasing the baking sheet
- A few drops of ice water, if necessary
- Coarse salt (optional)
INSTRUCTIONS:
- Preheat the oven to 450°F (230°C). Grate the cheddar or flavorful hard cheese using a food processor, then set it aside.
- Add the flour and cayenne to the food processor and pulse to combine. Add the chilled butter chunks and process until the butter and flour are well combined.
- Incorporate the grated cheese into the mixture by pulsing a few times in the food processor. If you prefer to mix by hand, use your fingers, a pastry blender, or two forks to blend the butter with the flour until it resembles cornmeal. Then mix in the cheese the same way.
- If needed, knead the dough by hand until it comes together, adding a few drops of ice water if necessary. If desired, you can wrap the dough tightly in plastic wrap and refrigerate for up to 2 days at this point.
- Roll out the dough into a rectangle about 1/4 inch thick, using flour as needed to prevent sticking. Alternatively, you can roll the dough between two sheets of plastic wrap.
- Cut the rolled-out dough into strips of your desired length and about 1/2 inch wide. Place the strips on a lightly greased baking sheet. Optional: Sprinkle the cheese straws with coarse salt for added flavor.
- Bake the cheese straws in the preheated oven until they turn golden brown, which usually takes about 5 to 8 minutes.
- Serve the cheese straws hot, warm, or at room temperature.
TIPS:
- Cheese Selection: Choose flavorful hard cheeses like cheddar or Parmesan for the best taste in your cheese straws. Experiment with different cheese combinations to find your favorite flavor profile.
- Food Processor: Using a food processor makes the preparation process quick and easy. Grating the cheese and combining the ingredients becomes a breeze. However, you can also mix the dough by hand if you don’t have a food processor.
- Dough Chilling: If time allows, refrigerate the dough for up to 2 days before rolling it out. Chilled dough is easier to handle and results in flakier cheese straws.
- Rolling Out the Dough: Dust your work surface and rolling pin with flour to prevent sticking. Roll the dough into a rectangle that is approximately 1/4 inch thick. If you find the dough too sticky, you can roll it between sheets of plastic wrap for easier handling.
- Cutting the Straws: Cut the rolled-out dough into strips of your desired length and width. You can use a sharp knife, a pizza cutter, or a pastry wheel for clean and even cuts. Aim for strips that are about 1/2 inch wide.
- Baking Time: Keep a close eye on the cheese straws while they are baking, as they can quickly go from golden brown to burnt. The baking time can vary depending on your oven, so start checking them around the 5-minute mark. Remove them from the oven as soon as they turn golden brown for a crisp texture.
- Serving: Cheese straws can be served hot, warm, or at room temperature. Arrange them on a platter or in a decorative container to showcase their beautiful shape. They can be enjoyed on their own or paired with dips, spreads, or even soups.
- Storage: If you have any leftover cheese straws, store them in an airtight container at room temperature. They can remain crispy for a couple of days. However, if they become soft, you can reheat them in a low-temperature oven for a few minutes to regain their crunchiness.
Enjoy these delicious homemade cheese straws as a unique and impressive appetizer. They can be enjoyed on their own or paired with your favorite dips or spreads. Serve them at your next gathering or enjoy them as a delightful snack any time of the day.
